National Dish Canada: Butter Tart Bars (Recipe)
In this article
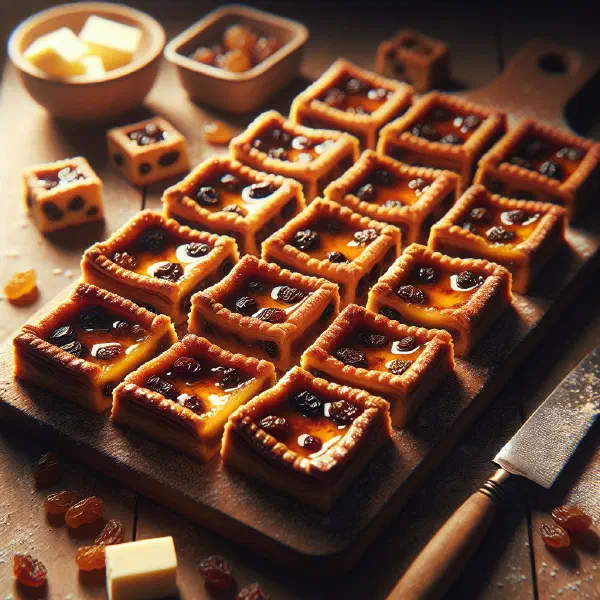
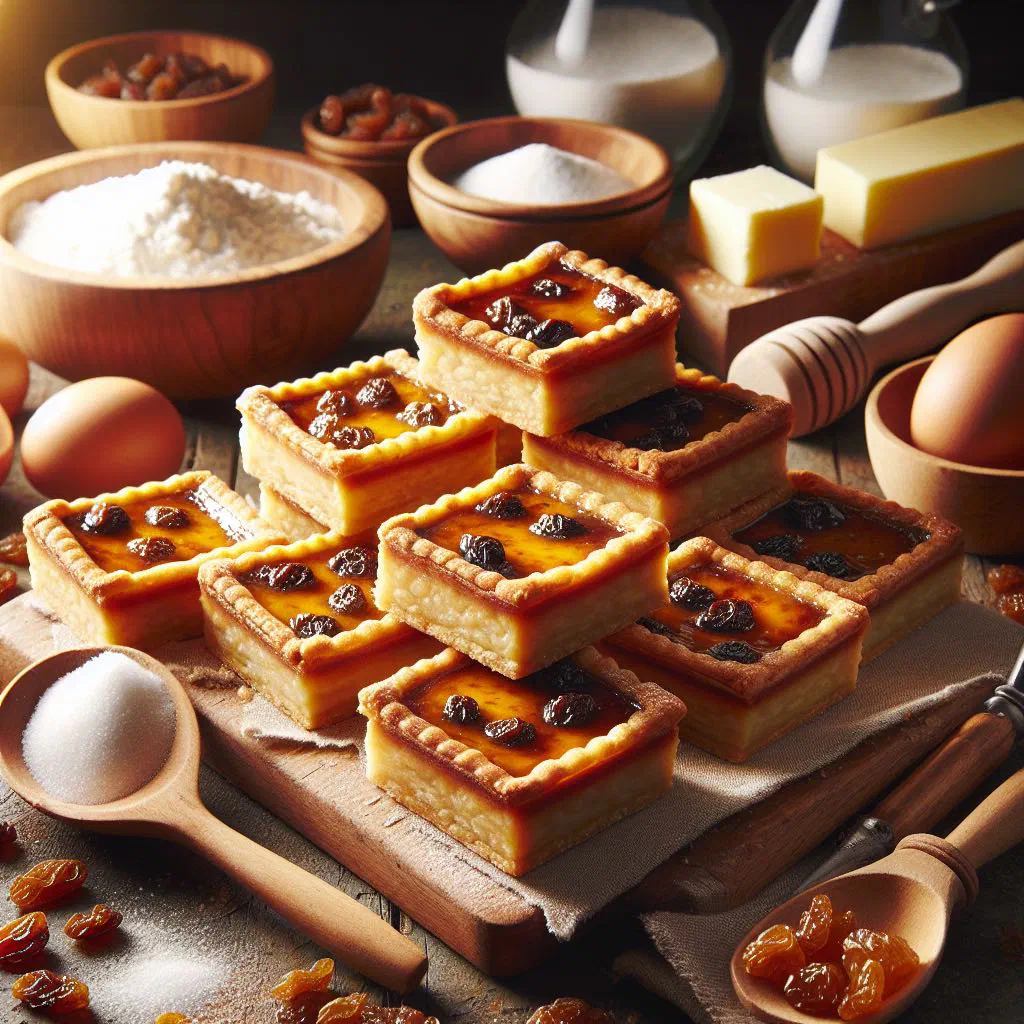
Meet Butter Tart Bars, the easy-going traybake cousin of Canada’s most famous little pastry. A crumbly shortbread base carries a glossy, caramel-rich filling built on brown sugar and vanilla, and the whole thing bakes in one tin rather than a fiddly tray of individual cases. Cut into neat squares, they are made for shared afternoons, bake sales and festive tables alike, and a single bite explains why Canadians have been devoted to this flavour for generations.
About Butter Tart Bars
Butter Tart Bars are an exquisite combination of a traditional Canadian dessert and modern baking convenience. They offer a light biscuit base and a rich, caramelised filling that captures the deep flavour of brown sugar and vanilla. They make ideal baking for sociable afternoons or for special occasions, and they travel far better than the classic pastry version. Every bite promises a real treat that appeals to children and adults in equal measure.
Ingredients (serves 1–2)
- 100 g plain flour
- 50 g caster sugar
- 75 g butter
- 1 egg
- 100 g brown sugar
- 1 teaspoon vanilla extract
- A pinch of salt
Shopping for the ingredients
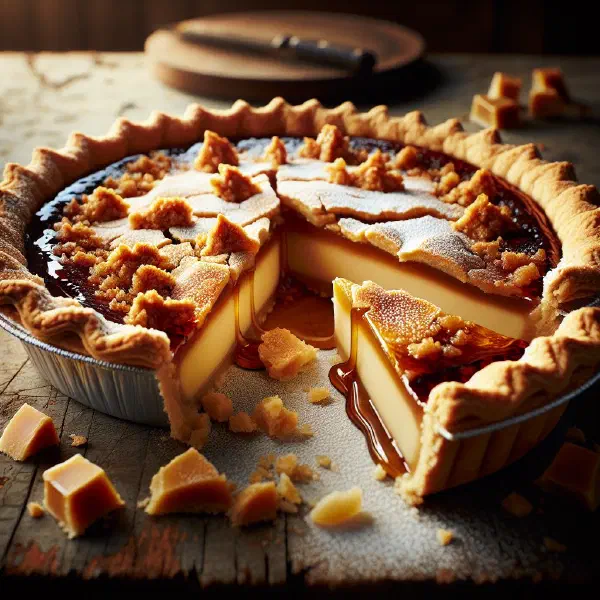
To make butter tart bars you need fresh, good-quality ingredients. A local market or a well-stocked supermarket is the best place to start. Look out for organic options when buying butter and eggs, as they noticeably improve the flavour. Do not overlook the vanilla extract and the brown sugar either, checking the quality of both makes a real difference to the finished bars, just as it does when baking a Maple Sugar Pie.
Preparing the dish
Getting ready to bake butter tart bars is quick and straightforward. Begin by heating the oven to 180°C, a temperature that ensures the bars bake through evenly and reliably. Have plenty of baking parchment to hand so the finished slab lifts out of the tin without trouble. Prepare a rectangular baking tin of a suitable size before you start mixing.
Step-by-step instructions
- Combine the flour, caster sugar and the pinch of salt in a bowl.
- Add the softened butter and rub the mixture together until it takes on a crumbly consistency.
- Press the mixture into the prepared tin and bake it for 10 minutes.
- In a separate bowl, whisk the brown sugar, the egg and the vanilla extract together thoroughly.
- Pour the filling over the part-baked base and bake for a further 20–25 minutes, until the filling is set.
- Let the bars cool completely, then cut them into squares.
Gluten-free / lactose-free version
For a gluten-free version of butter tart bars, simply use a gluten-free flour blend in place of wheat flour. Check that any other ingredients, such as baking powder and vanilla extract, are gluten-free too. For a lactose-free option, replace the butter with a plant-based butter alternative. These small adjustments mean that anyone with intolerances can still enjoy the dessert.
Tips for vegans and vegetarians
Vegans can enjoy butter tart bars as well by swapping the egg for apple purée or flaxseed. Both offer similar binding properties and give the filling a pleasant consistency. Use plant-based butter or coconut oil to make the recipe fully vegan. These minor changes are not only kinder to animals but genuinely delicious in their own right.
More tips and tricks
One useful tip when making butter tart bars is not to over-bake the filling, which would leave it chewy rather than soft. Check the consistency towards the end of the baking time, the centre should still have a slight wobble. Let the bars cool fully before cutting so they keep their height and clean edges. Stored in an airtight container, they stay fresh for several days.
Adapting the recipe to your taste
The recipe is extremely flexible and easy to adjust to personal preference. Add nuts such as walnuts or pecans for extra crunch, much as you would in a Maple Pecan Pie. For a chocolate note, work cocoa powder or melted chocolate into the filling. Experiment with different spices, such as cinnamon or nutmeg, to give the bars a character of their own.
Ingredient substitutions
If a particular ingredient is missing from the cupboard, plenty of alternatives will do the job. Instead of brown sugar you can use honey or maple syrup for a different kind of sweetness. For a gluten-free base, oat flour or almond flour both work well. A little creativity in the kitchen can lead to entirely new flavour combinations.
Drink pairing ideas
Several drinks pair beautifully with butter tart bars. For a classic match, tea or coffee balances the sweet filling perfectly. If you prefer something fruitier, serve fruit juice or sparkling water alongside. A chocolate milkshake also works splendidly with these rich squares, particularly for children and the young at heart.
Serving and presentation ideas
Presentation matters if you want your butter tart bars to look as good as they taste. Cut the slab into even squares and arrange them on an attractive serving plate. Add fresh fruit or mint leaves for a splash of colour. A light dusting of icing sugar makes the dessert even more appealing and lends it an elegant finish.
A bit of history
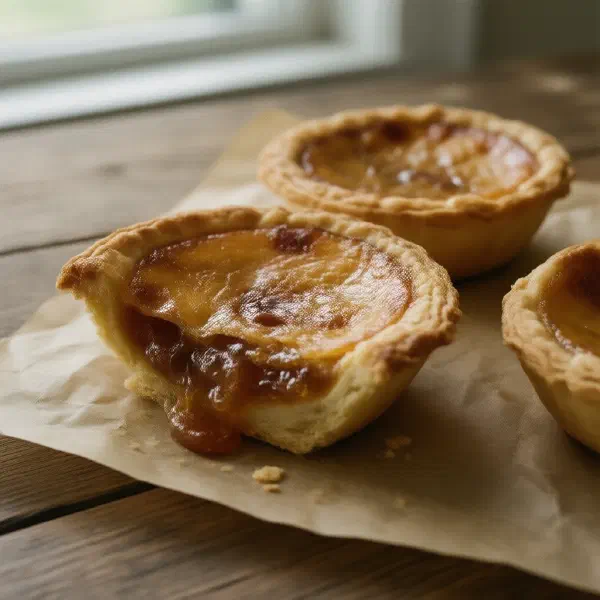
The butter tart is a treasured Canadian dessert with roots reaching back to the 18th century. Originally inspired by French settlers, the recipe developed over the years and produced many regional variations, alongside close relatives such as Butter Tarts and Butter Tart Squares. Butter tart bars are a modern interpretation of that classic and are steadily growing in popularity. They stand for the baking traditions of Canadian cuisine and bring a piece of history into your kitchen.
More recipe ideas
Summary: Butter Tart Bars
Butter tart bars are a delicious dessert that brings the flavours of brown sugar and vanilla together in perfect harmony. They are simple to prepare and offer plenty of scope for adaptation to suit different tastes and dietary needs. With the right presentation these bars become the star of any gathering and a sweet pleasure for everyone at the table. Enjoy the burst of caramel flavour and bring a touch of North American baking into your own kitchen.